USCBe Extraordinary
Get the degree you always dreamed of
With more than 50 undergraduate academic programs of study and 2 new graduate degrees, USCB has a dedicated team of faculty and admissions staff to help you discover your passion. We will put you a step closer to your dreams.

 Bluffton Campus
 Study Near the Ocean
USCB has three campuses in the heart of the South Carolina Lowcountry—the main campus in Bluffton has cutting-edge laboratories, vibrant campus life and Sand Shark athletics. The Historic Beaufort campus is on the water in artistic downtown Beaufort, and the Hilton Head Island campus offers hospitality internship opportunities at world-class beach resorts.

Discover what
inspires you
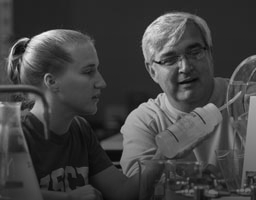
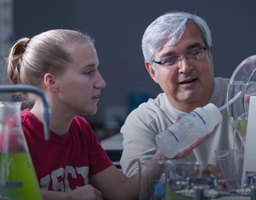
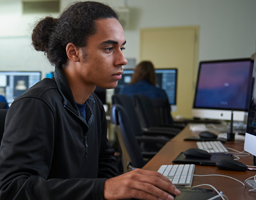
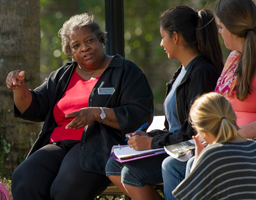
Our programs of study offer personalized instruction and opportunities for research, internships, community service and study abroad.
ADMINISTRATION


STUDIES


SCIENCE


& Technology


Graduate Degrees:
Science


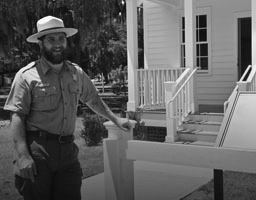
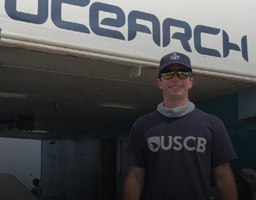
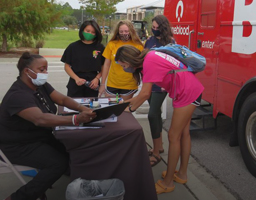
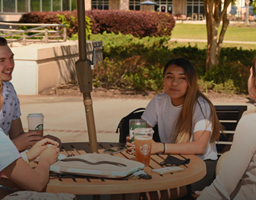
USCBe Informed
brings you University of South Carolina Beaufort's news.
Each photo leads to an inspiring story about teaching, research and creative achievements by USCB students, faculty and staff.