
Adding Rows
To add additional rows to the snippet, place the cursor inside the snippet table and select Row->Insert Row After or Row->Insert Row Before. To delete rows, place the cursor inside the snippet table and select Row->Delete Row.
A multipurpose list is used to highlight content that may have many components or options, such as links to content pages, downloads or an off-site related link.
To add additional rows to the snippet, place the cursor inside the snippet table and select Row->Insert Row After or Row->Insert Row Before. To delete rows, place the cursor inside the snippet table and select Row->Delete Row.
The Multipurpose List with Buttons CANNOT be used together with callouts on a page. When using a Multipurpose List with Buttons, make sure that the callout editable region is hidden in page properties (neither the Callout Column nor Local Callouts checkboxes should be selected).
Watch the Video (16:12) and review the accompanying instructions.

1. Access the Main editable region, then click on the Gadget icon to open up the Gadget menu. Under Snippets, select Content from the dropdown, and double click Multipurpose List (A) to insert it.

2. Update the list image. Delete the placeholder image (B). Click on the Image icon (C) to insert another 124x124 list image that has already been uploaded to OU Campus. Navigate to the image and add the required image description, then click OK. If no image is needed, leave the cell empty but do not delete the snippet column.
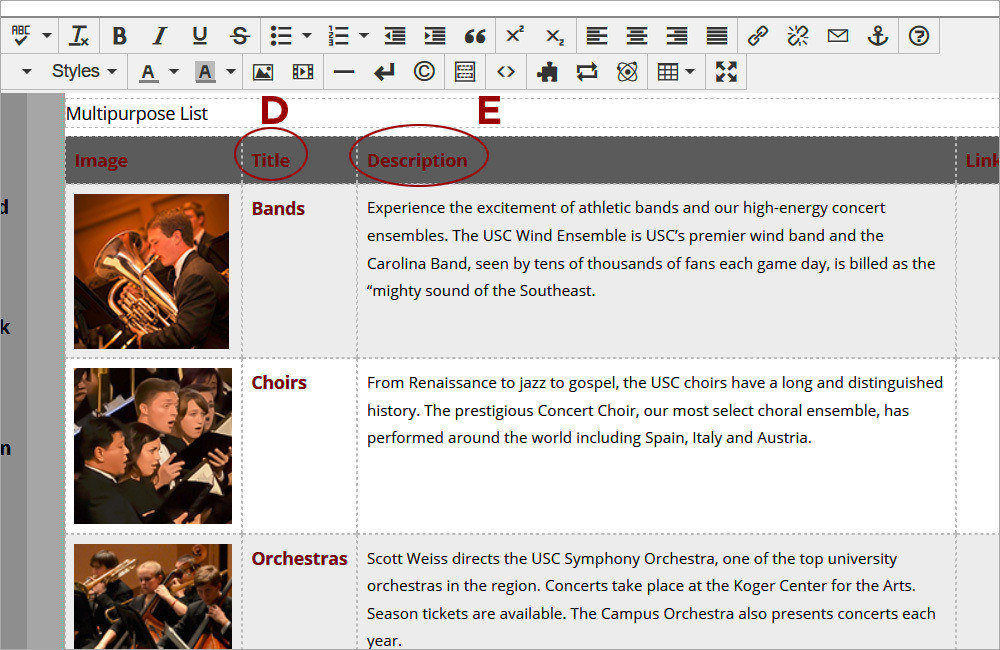
3. Fill in the Title (D) and Description (E) in the respective columns of the snippet table.
4. Update the links in the last column of the snippet. There are three types of buttons: Read More when linking to an internal page, External when linking to an external page (a page on a site that does not belong to the University
of South Carolina), and Download when linking to a document. Make sure to apply the correct class for each type of
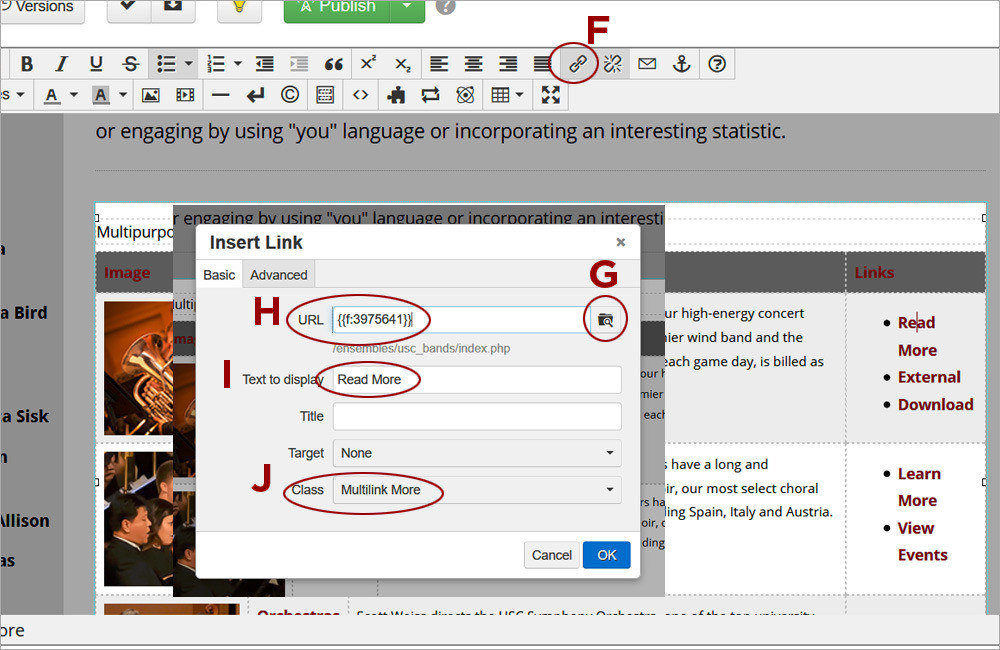
hyperlink - Multilink More, Multilink External, and Multilink Download, respectively. To update the placeholder hyperlinks, place the cursor inside them
and click on the Insert/Edit Link (F). Click Browse (G) to navigate to the content in OU Campus or paste the web address in the URL (H) box if the content is external. Update the Text to display (I) if needed and make sure the correct class for the type of link is selected from the
Class dropdown (J).

5. Add additional rows if needed. To add additional rows, place the cursor in the snippet table and select Row->Insert Row Before/After (K). Update the Image, Title, and Description as describe above. Make sure that the link(s) in the last column are added as unordered bullets and that the correct class is applied. Click Save (L) to save the changes and preview the page.
The Multipurpose List without Buttons is a more versatile simple list that allows inline links and styling.
Watch the Video (15:33) and review the accompanying instructions.
1. Access the Main editable region, then click on the Gadget icon to open up the Gadget menu. Under Snippets, select Content from the dropdown, and double click Multipurpose List (A) to insert it.
2. Update the list image. Delete the placeholder image (B). Click on the Image icon (C) to insert another 124x124 list image that has already been uploaded to OU Campus. Navigate to the image and add the required image description, then click OK. If no image is needed, leave the cell empty but do not delete the snippet column.
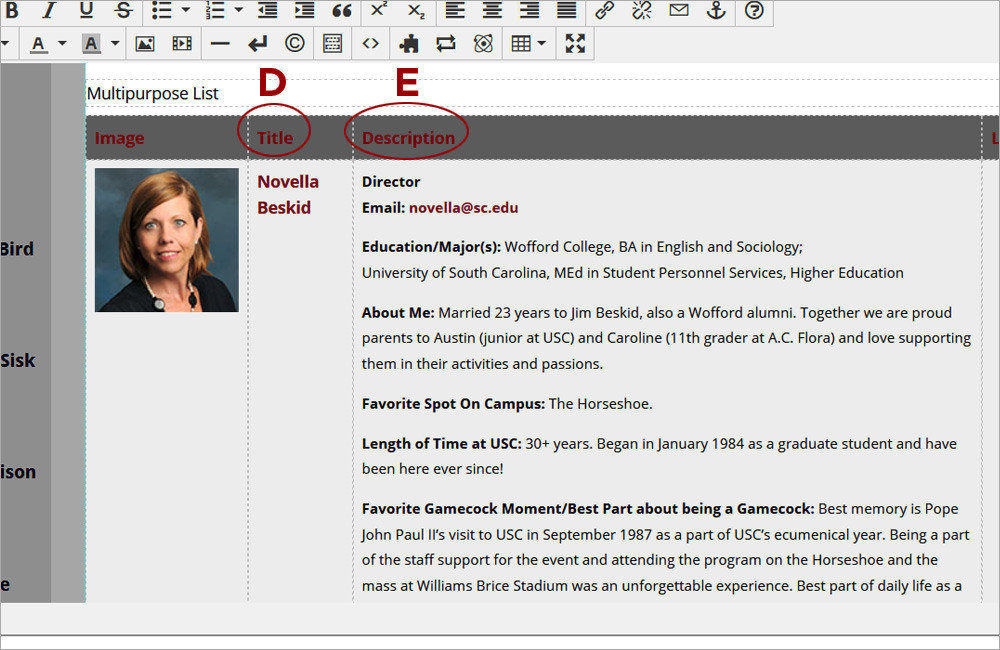
3. Fill in the Title (D) and Description (E) in the respective columns of the snippet table. The Description column can include formatting and inline links.

4. Delete the links and the unordered bullets (F) in the last column of the snippet. Click Save (G) to save the changes and preview the page.