Watch the video (10:00) and review the accompanying instructions.
-
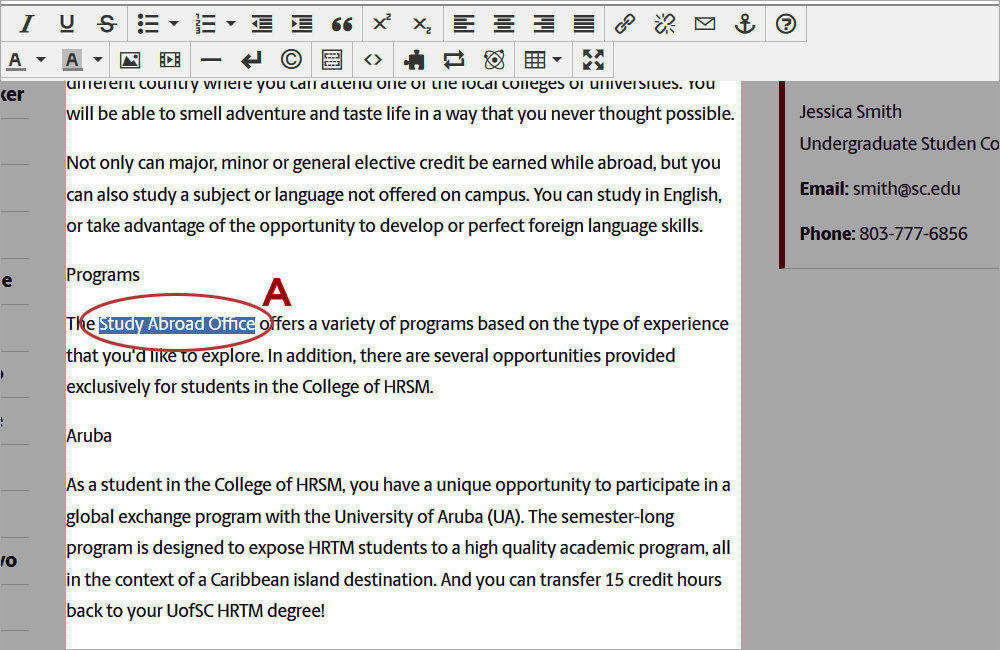
1. Access the editable region and highlight the text (A) that will be turned into a link.
-
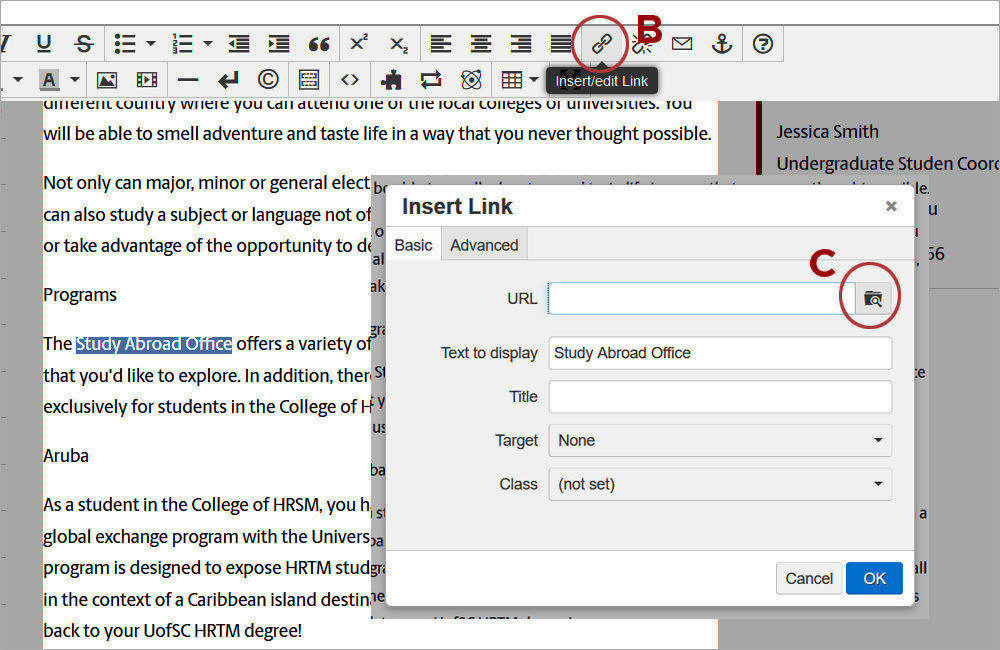
2. Click on the Insert/Edit link tool (B) and click the Browse button (C) to open the Select File window.
-
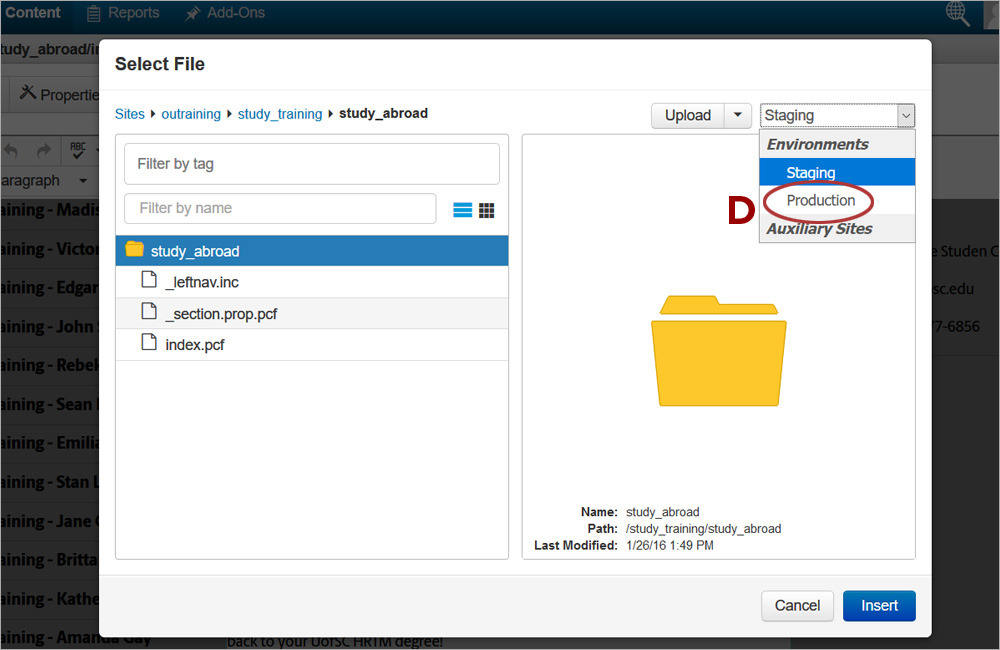
3. When linking to content within a different site or within the same site but to which you do not have editing access, select Production (D). Otherwise, leave it as Staging.
-
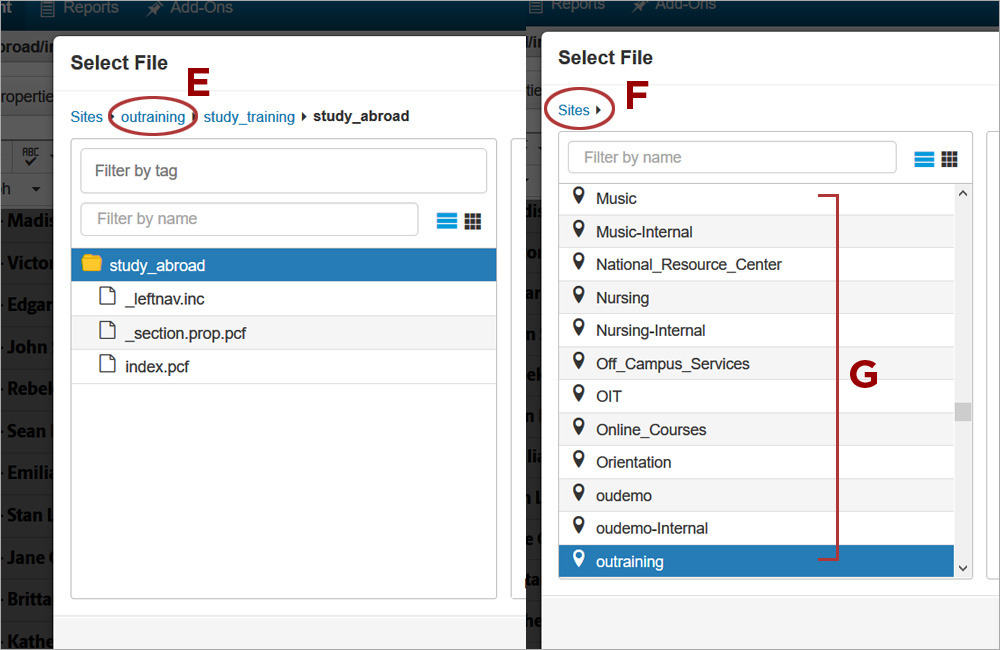
4. When linking within the same site, click on the site name (E) in the breadcrumb (shown site name will be different for each site). When linking to a different site in the University CMS, click on the word Sites (F) in the breadcrumb. The alphabetic list of sites (G) will appear. Double-click on the site name.
-
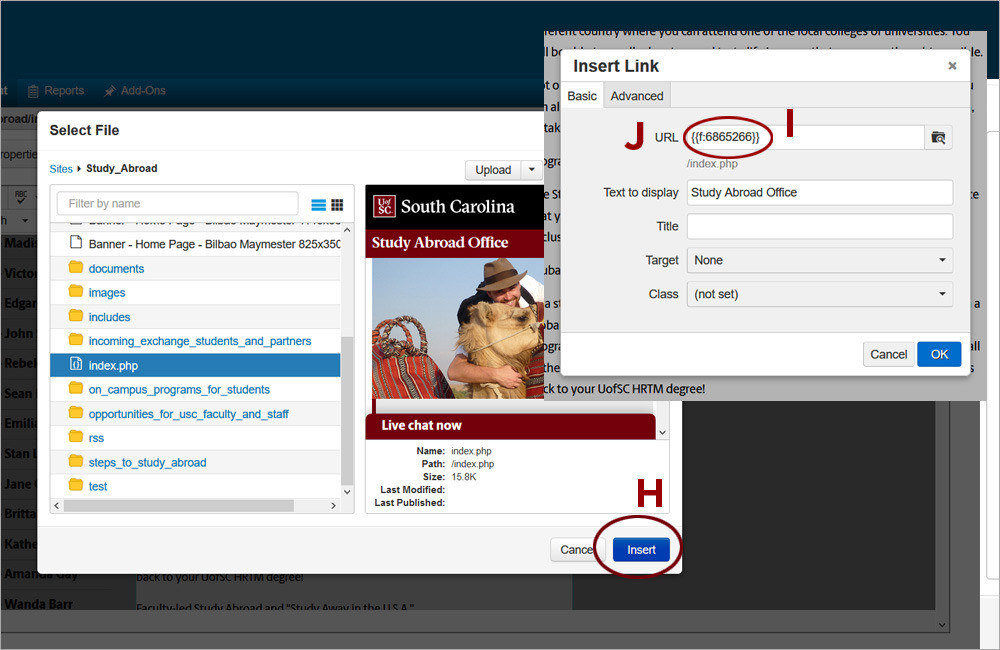
5. Navigate to and click on the page or document you are linking to and click Insert (H). The dependency tag (I) will appear in the URL field (J).
-
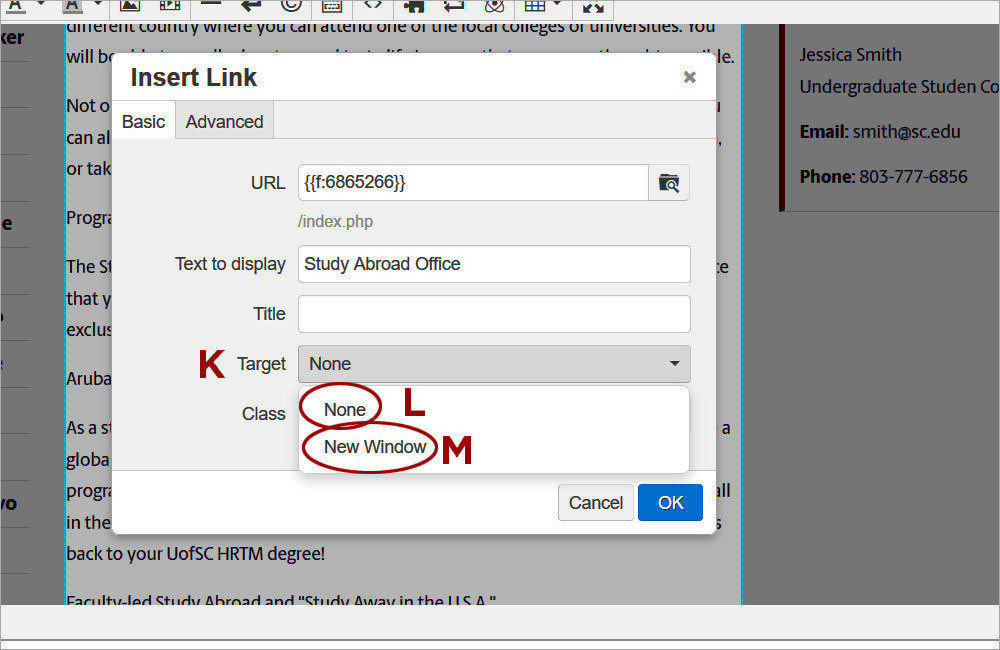
6. When linking to a page within the University CMS, even if it is in a different site, leave the Target dropdown (K) as None (L). When linking to a document (PDF, Word, etc.) or to an external site that is not part of the University of South Carolina, select New Window (M).